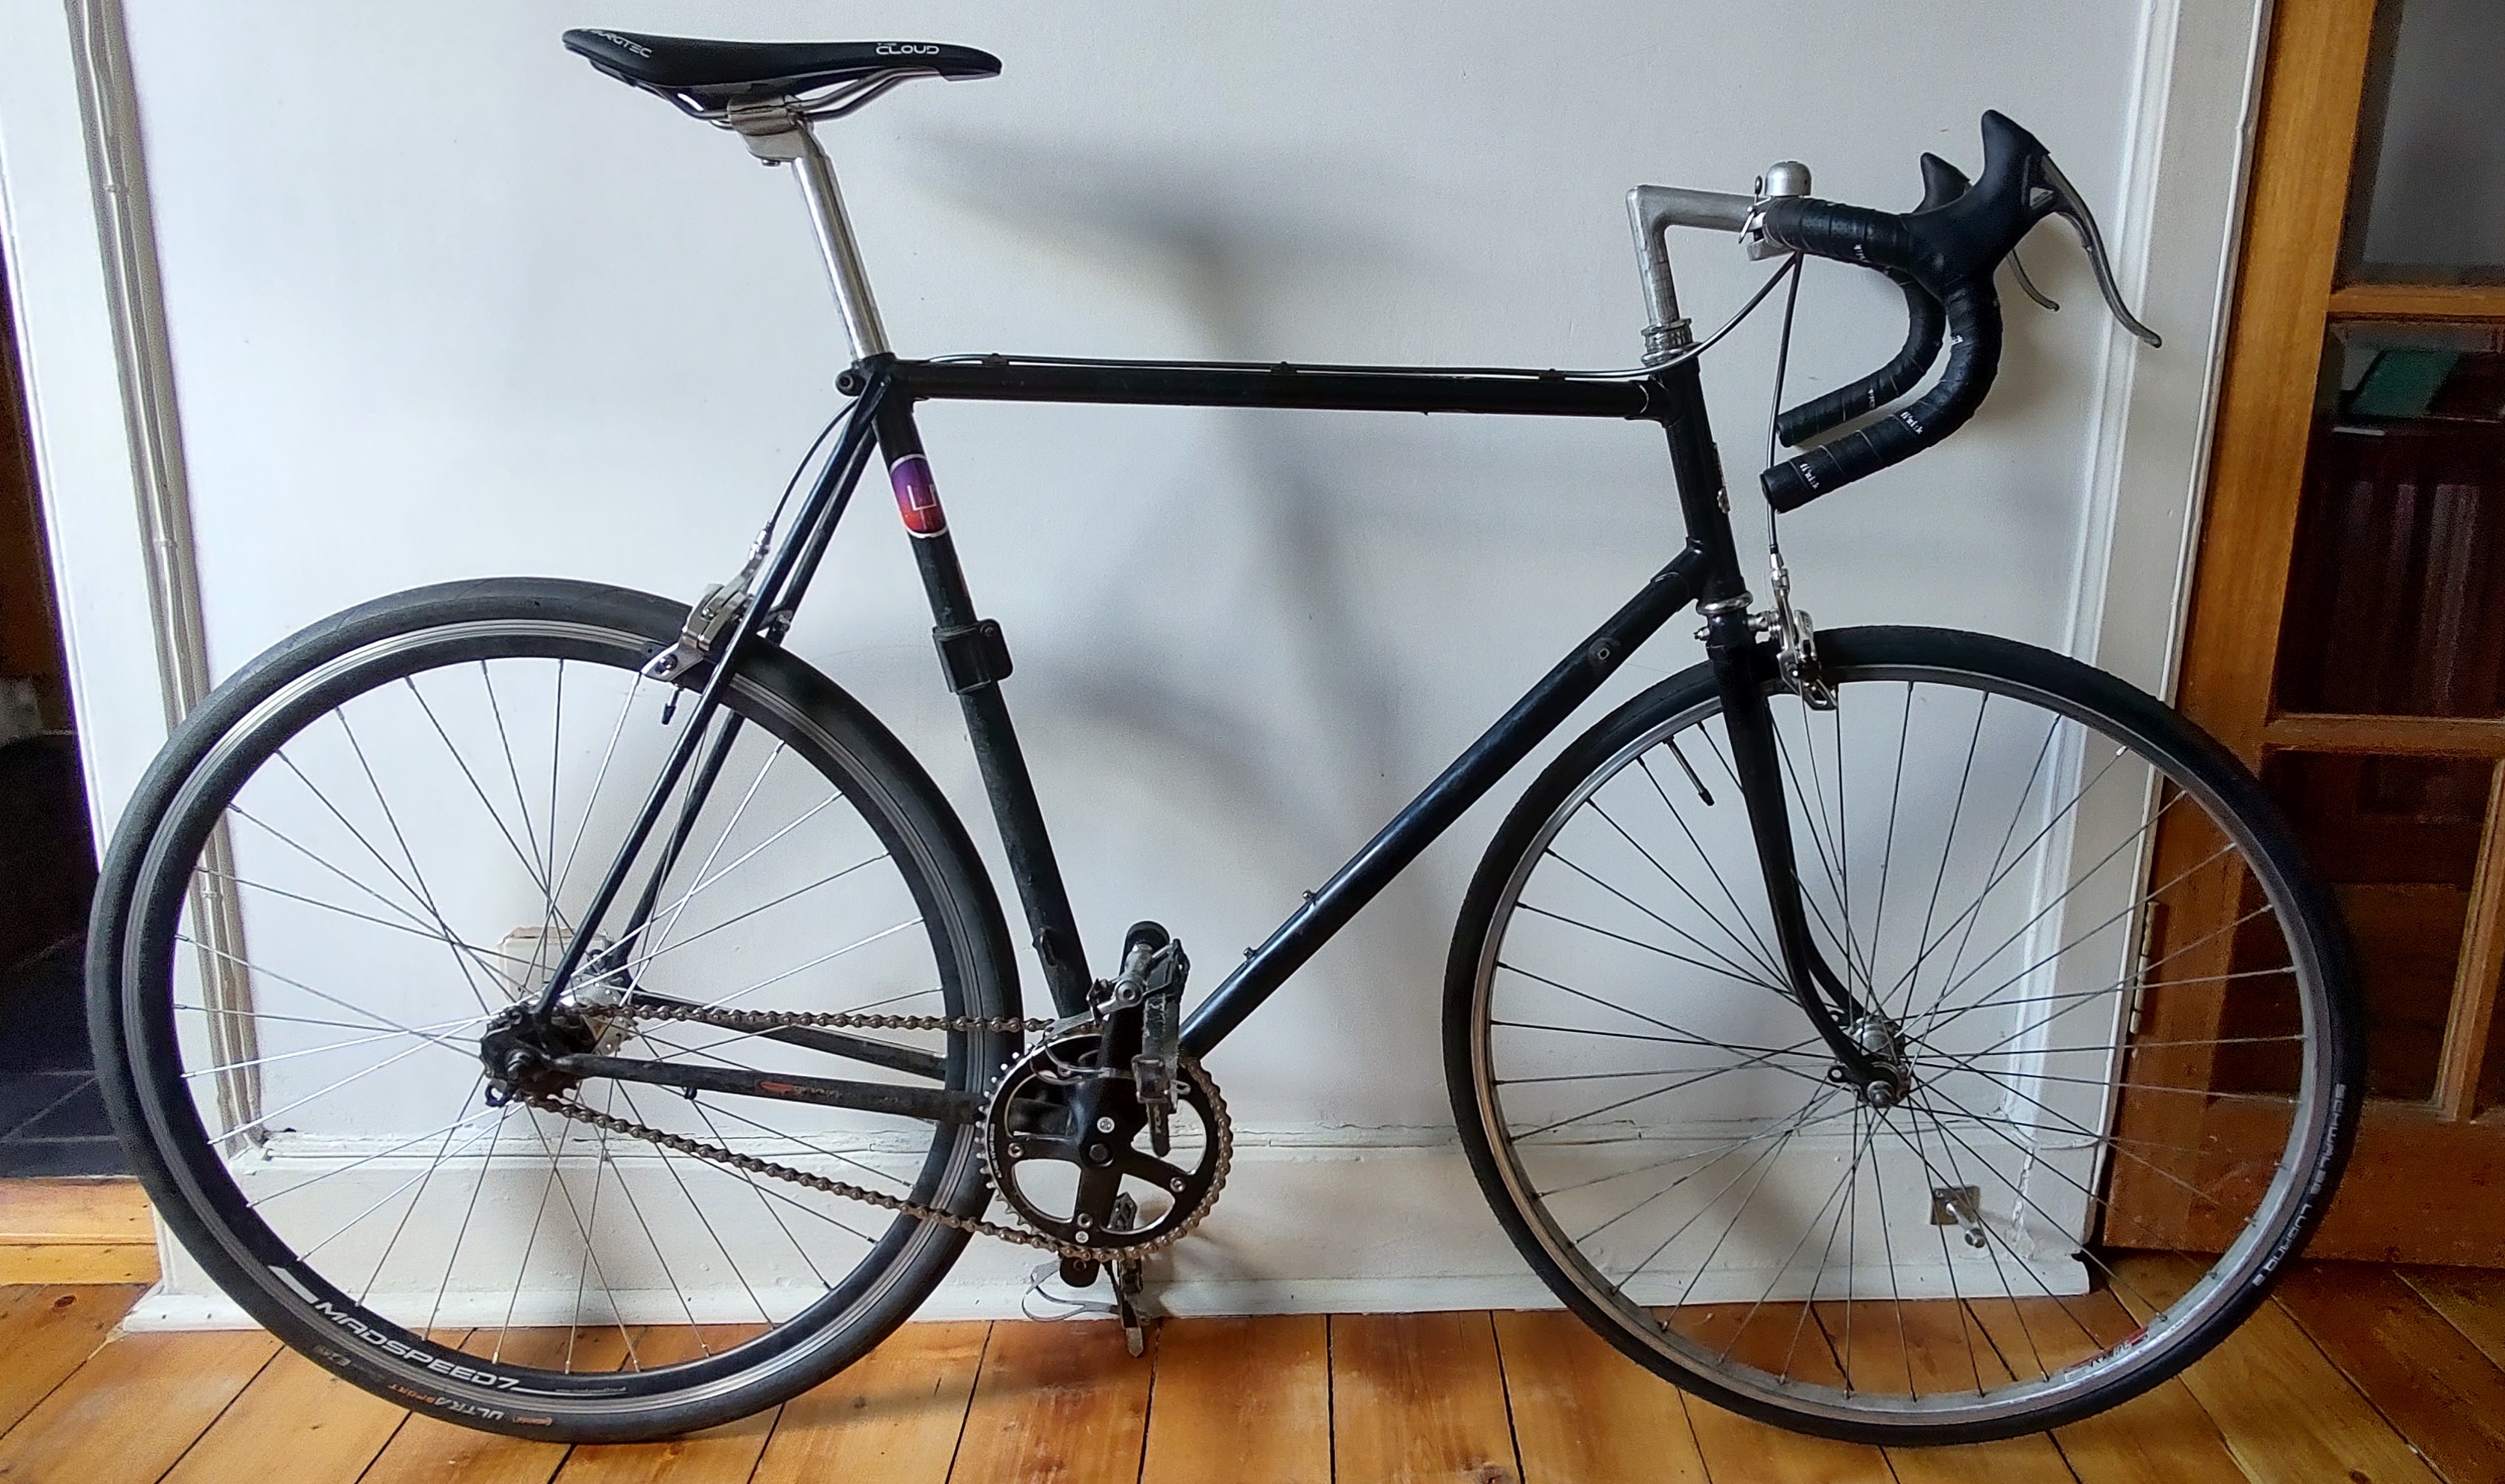
TITLE: Refurbishing my bike DATE: 2023-08-12 AUTHOR: John L. Godlee ====================================================================  I have had this bike since spring 2013, over ten years. It is a Raleigh frame, and although the serial number on the base of the bottom bracket is partially obscured by the cable guide (which is riveted in place!), it seems that it was probably built somewhere around 1983. I bought it in Edinburgh from someone who said they had done it up as a hobby project. They had replaced the brakes, brake cables, cable housing, brake calipers, bar tape and rear derailleur, and generally given it a service. I reckon everything else was original. I wonder if they also painted it, because the Raleigh logo which is normally on the bottom tube was gone. The bike was built as a ten speed, and I rode it like that until 2 months ago, almost daily while living in Edinburgh, but only occasionally during our stint in London. Having moved back to Edinburgh after a brief stay in Bonn, Germany, I decided to overhaul the bike. The gearset had started making funny noises and not changing gear easily, and the brakes had gone incredibly mushy from worn out cabling. One bit at a time I have upgraded and replaced quite a lot of the bike. From the original setup I kept: - Frame - Forks - Stem - Front wheel - Bell - Pedals (I bought these in 2018 to replace the flat pedals) I replaced: - Handlebars and bar tape - Brake levers - Brake cables and cable housing - Brake calipers - Rear wheel and freewheel - Crankset - Seatpost - Saddle - Chain Initially, I wanted to upgrade the bike using period parts. The crankset in particular needed to be replaced urgently, as the small chainring was very worn.  I found it very difficult to find a decent replacement for the crankset, and even more difficult to find a good 5 speed freewheel for the back. Eventually, I decided to convert the bike into a single speed. I have ridden single speeds before and enjoy them for commuting to work and generally riding around the town. They are less maintenance, and are good for building up my leg strength. I bought a replacement rear wheel off eBay, a Madspeed7 with a flip-flop hub and a Continental UltraSport 32c tyre. It has an 18T freewheel and an 18T fixed ring on the other side. The wheel is a 700c, slightly smaller than the 27" wheel that was previously on there. I had already replaced the front wheel with a 700c a few years ago. I wanted a 700c because it's much easier to get tyres for these size wheels nowadays. I wasn't sure whether the frame would fit a single speed wheel. Old 10 speeds often have a width of 126 mm in the rear dropouts, while track bikes often have 120 mm, so I was worried that the axle on the wheel wouldn't be long enough to span the gap, or I would have to get the wheel re-dished to get the chainline right. Without enough information to make an informed decision, I bought the wheel and gave it a try. It fit perfectly. There is approximately 18 mm of spare axle outside the dropouts on both sides, and the wheel fits inside the dropouts with very little issue. It helps that steel frames have a bit of flex.  I replaced the crankset with a Brick Lane Bikes Freestyle Crankset 44T, ordered from their website. This required a new bottom bracket to be fitted, because the bottom bracket fitted for the 10 speed had the chainring too far out from the frame, which made the chainline wonky. I got this done at Soul Cycles, as I don't have the tools to remove a bottom bracket. [Soul Cycles]: https://www.soulcycles.co.uk/  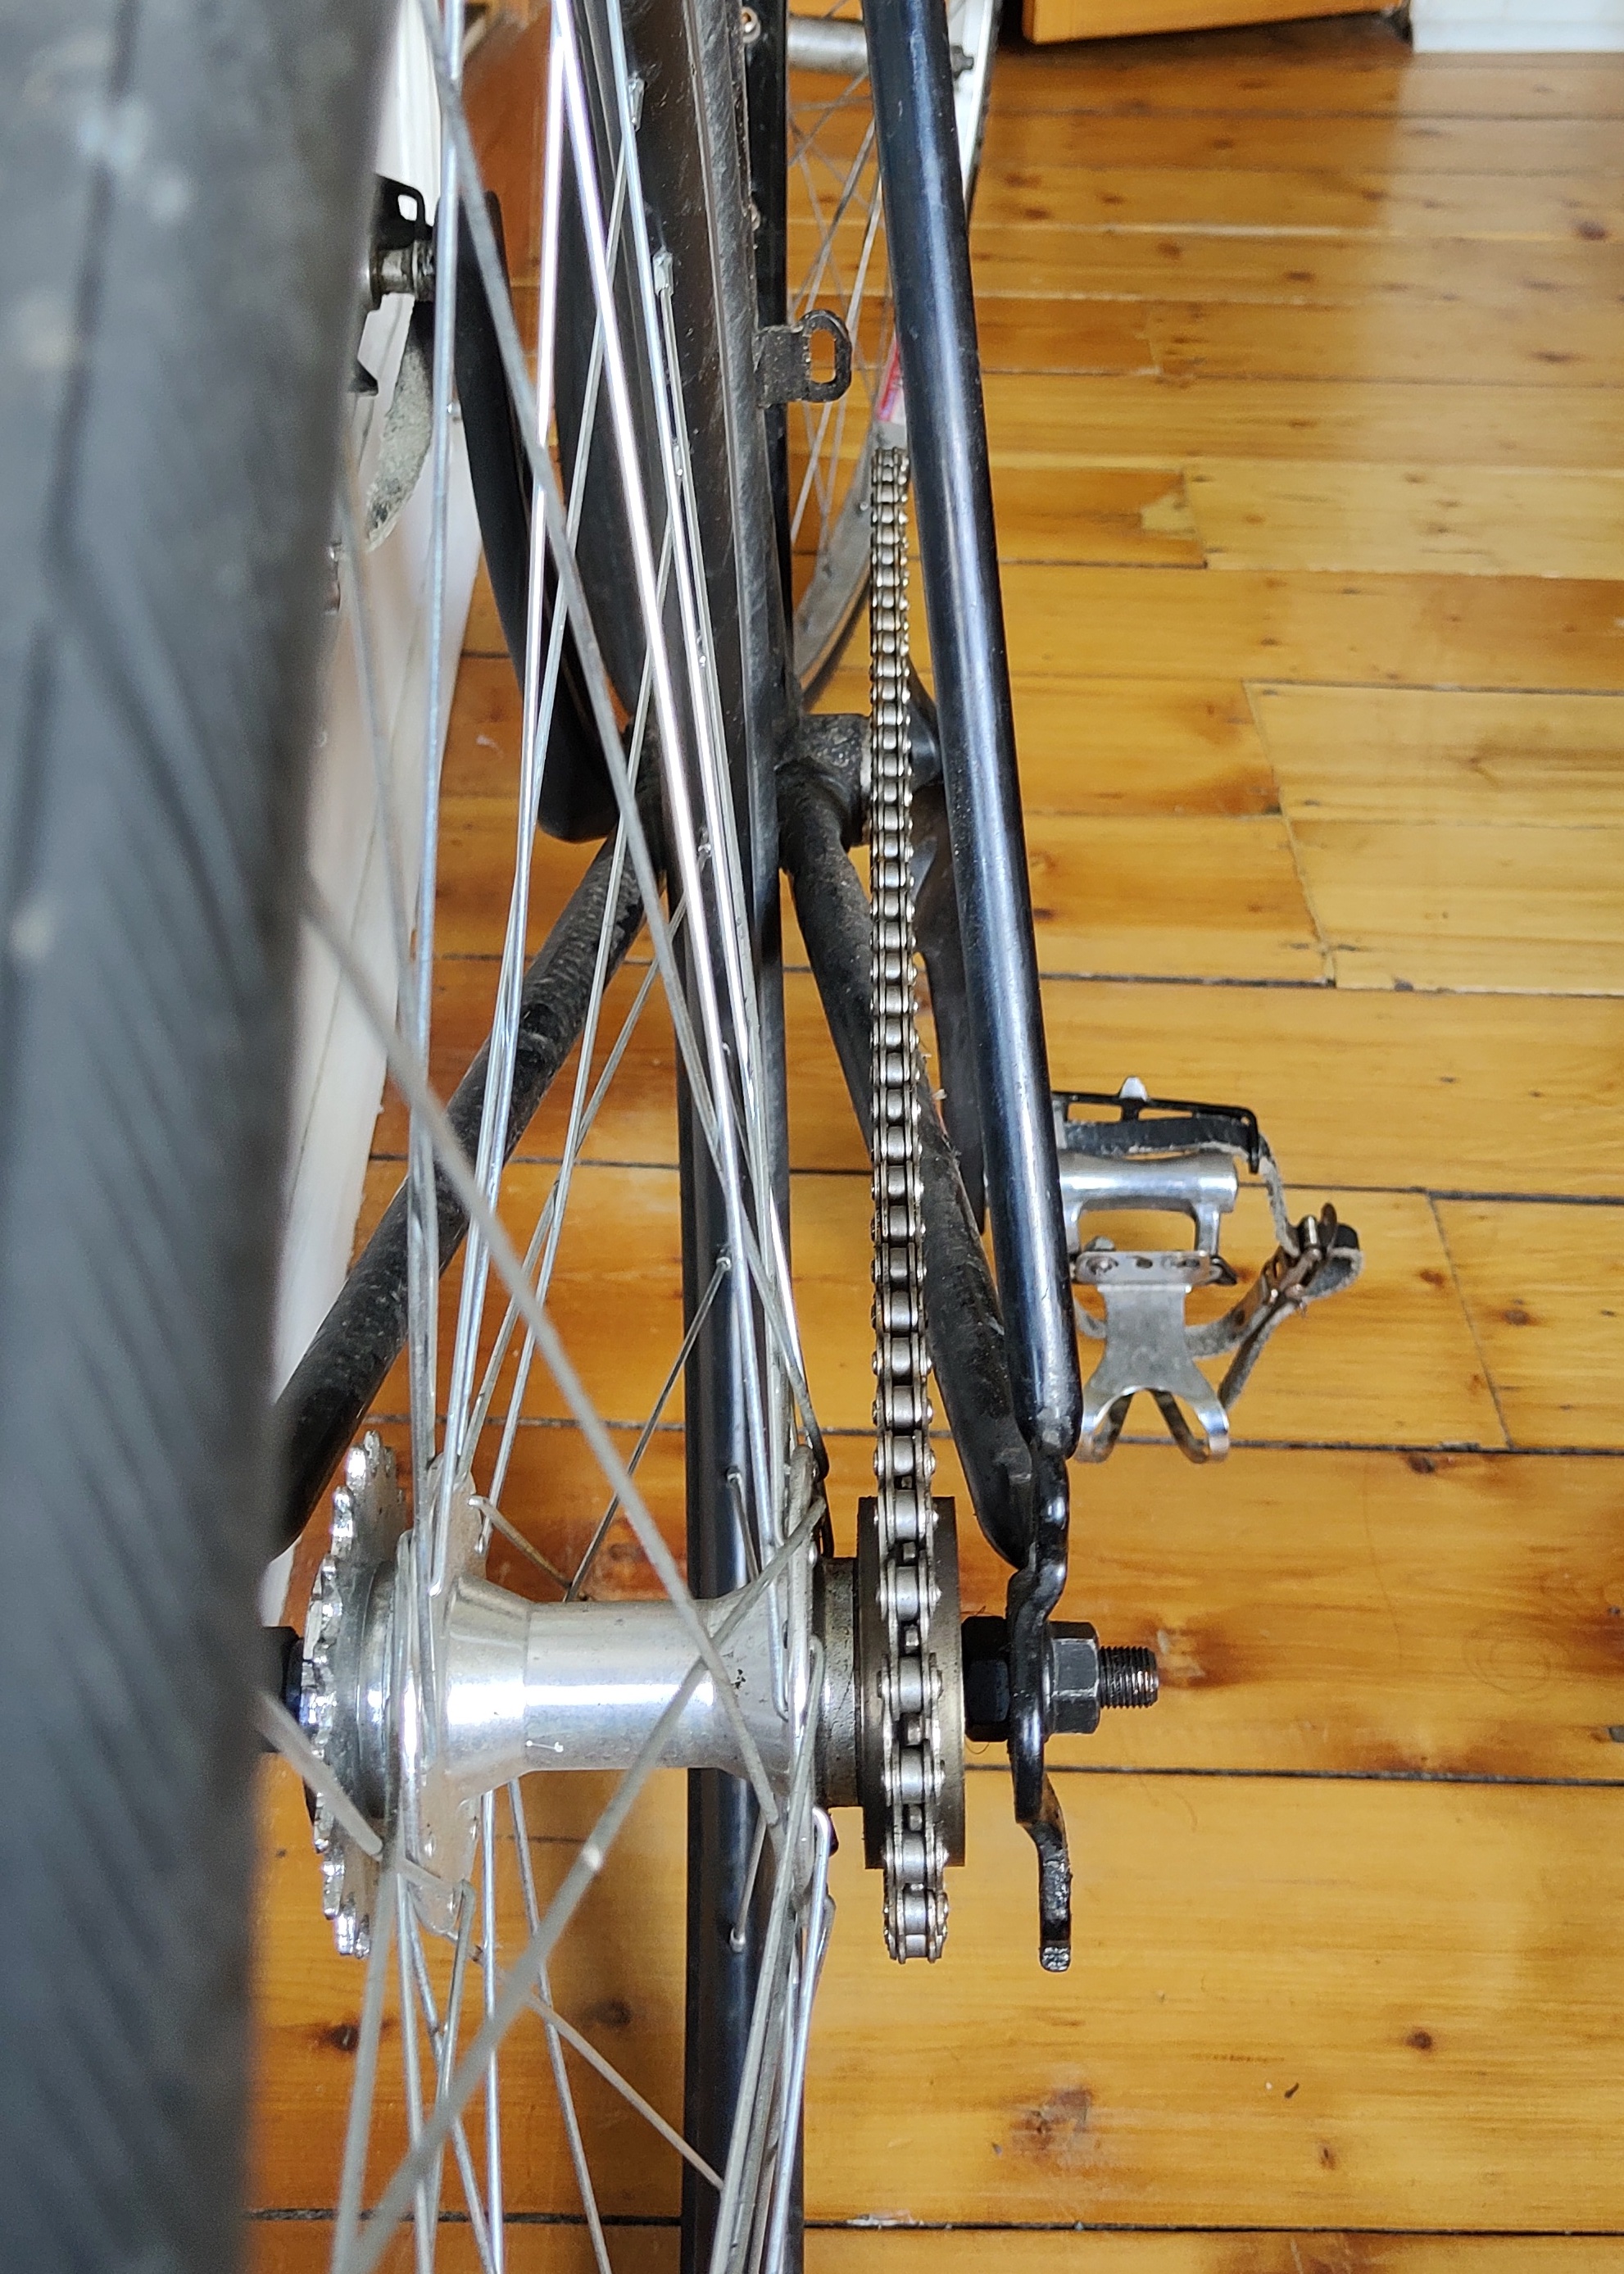 I wanted to replace the handlebars because the original handlebars were damaged in a crash with a car in 2018, which bent the right drop inwards. The bars were also very aggressive and narrow, which tended to give me a bad back on longer rides. I replaced them with a set of Cinelli bars gifted from a friend. These are 25.4 mm (1") diameter at the point where they are clamped by the stem. They were slightly harder to fit into the stem clamp than the old bars, probably because of the geometry of the bars, as they curve quite tight. 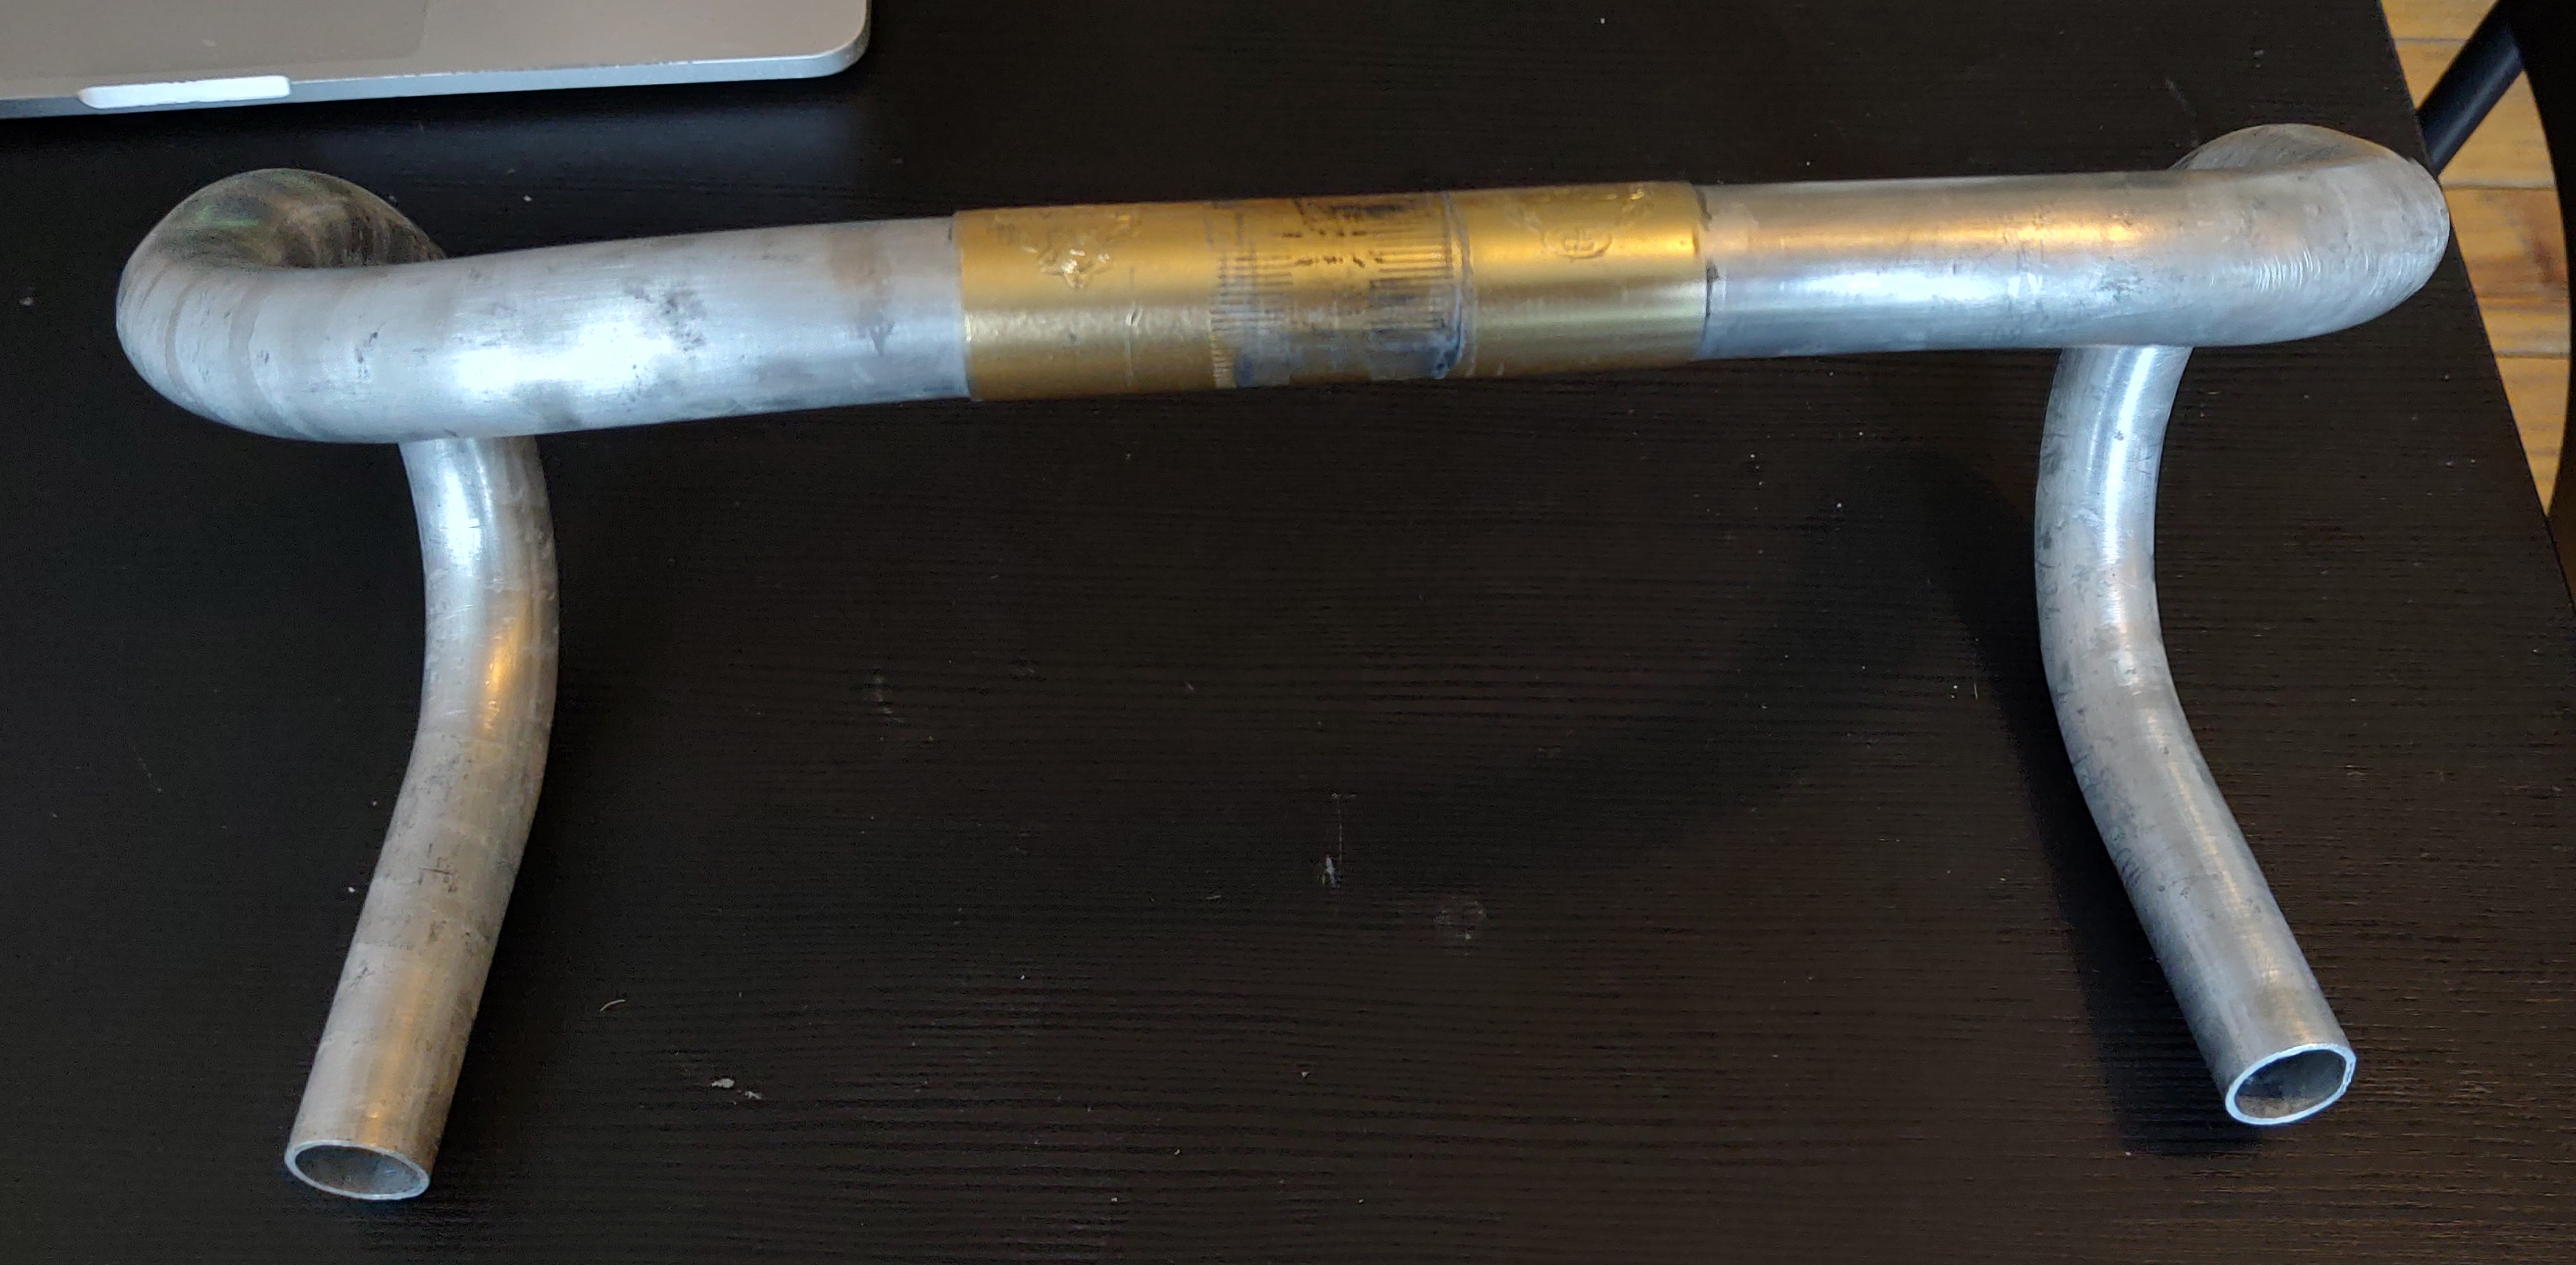 I replaced the brake levers with some Shimano Exage Action brakes, model BL-A351, also gifted by a friend. I wanted some levers with taller hoods, to make riding on the hoods more comfortable. I also wanted levers with aero style cable routing, which goes beneath the bar tape, as it looks a lot cleaner.  I replaced the rubber parts on these levers, as the rubber was very dirty and had gone all sticky and gummy. I bought a pair of Shimano BL-R400 Bracket Covers - 86C 9810 from SJS Cycles. They fit almost perfectly, except for a tiny gap on the base of the outside, though this might close up over time as I use the bike more and the hoods stretch a bit. I followed this video on how to fit new hoods, using alcohol gel to lubricate the inside of the rubber. [this video]: https://youtu.be/-KbzZDQJ6hg  For bar tape I used Fizik Tempto Microtex 2mm Classic. I would have preferred a colour other than black, as the bike is rather trendy and monochrome at the moment, but this is the one they had in the shop (BikeWorks). [BikeWorks]: https://www.thebicycleworks.com/ 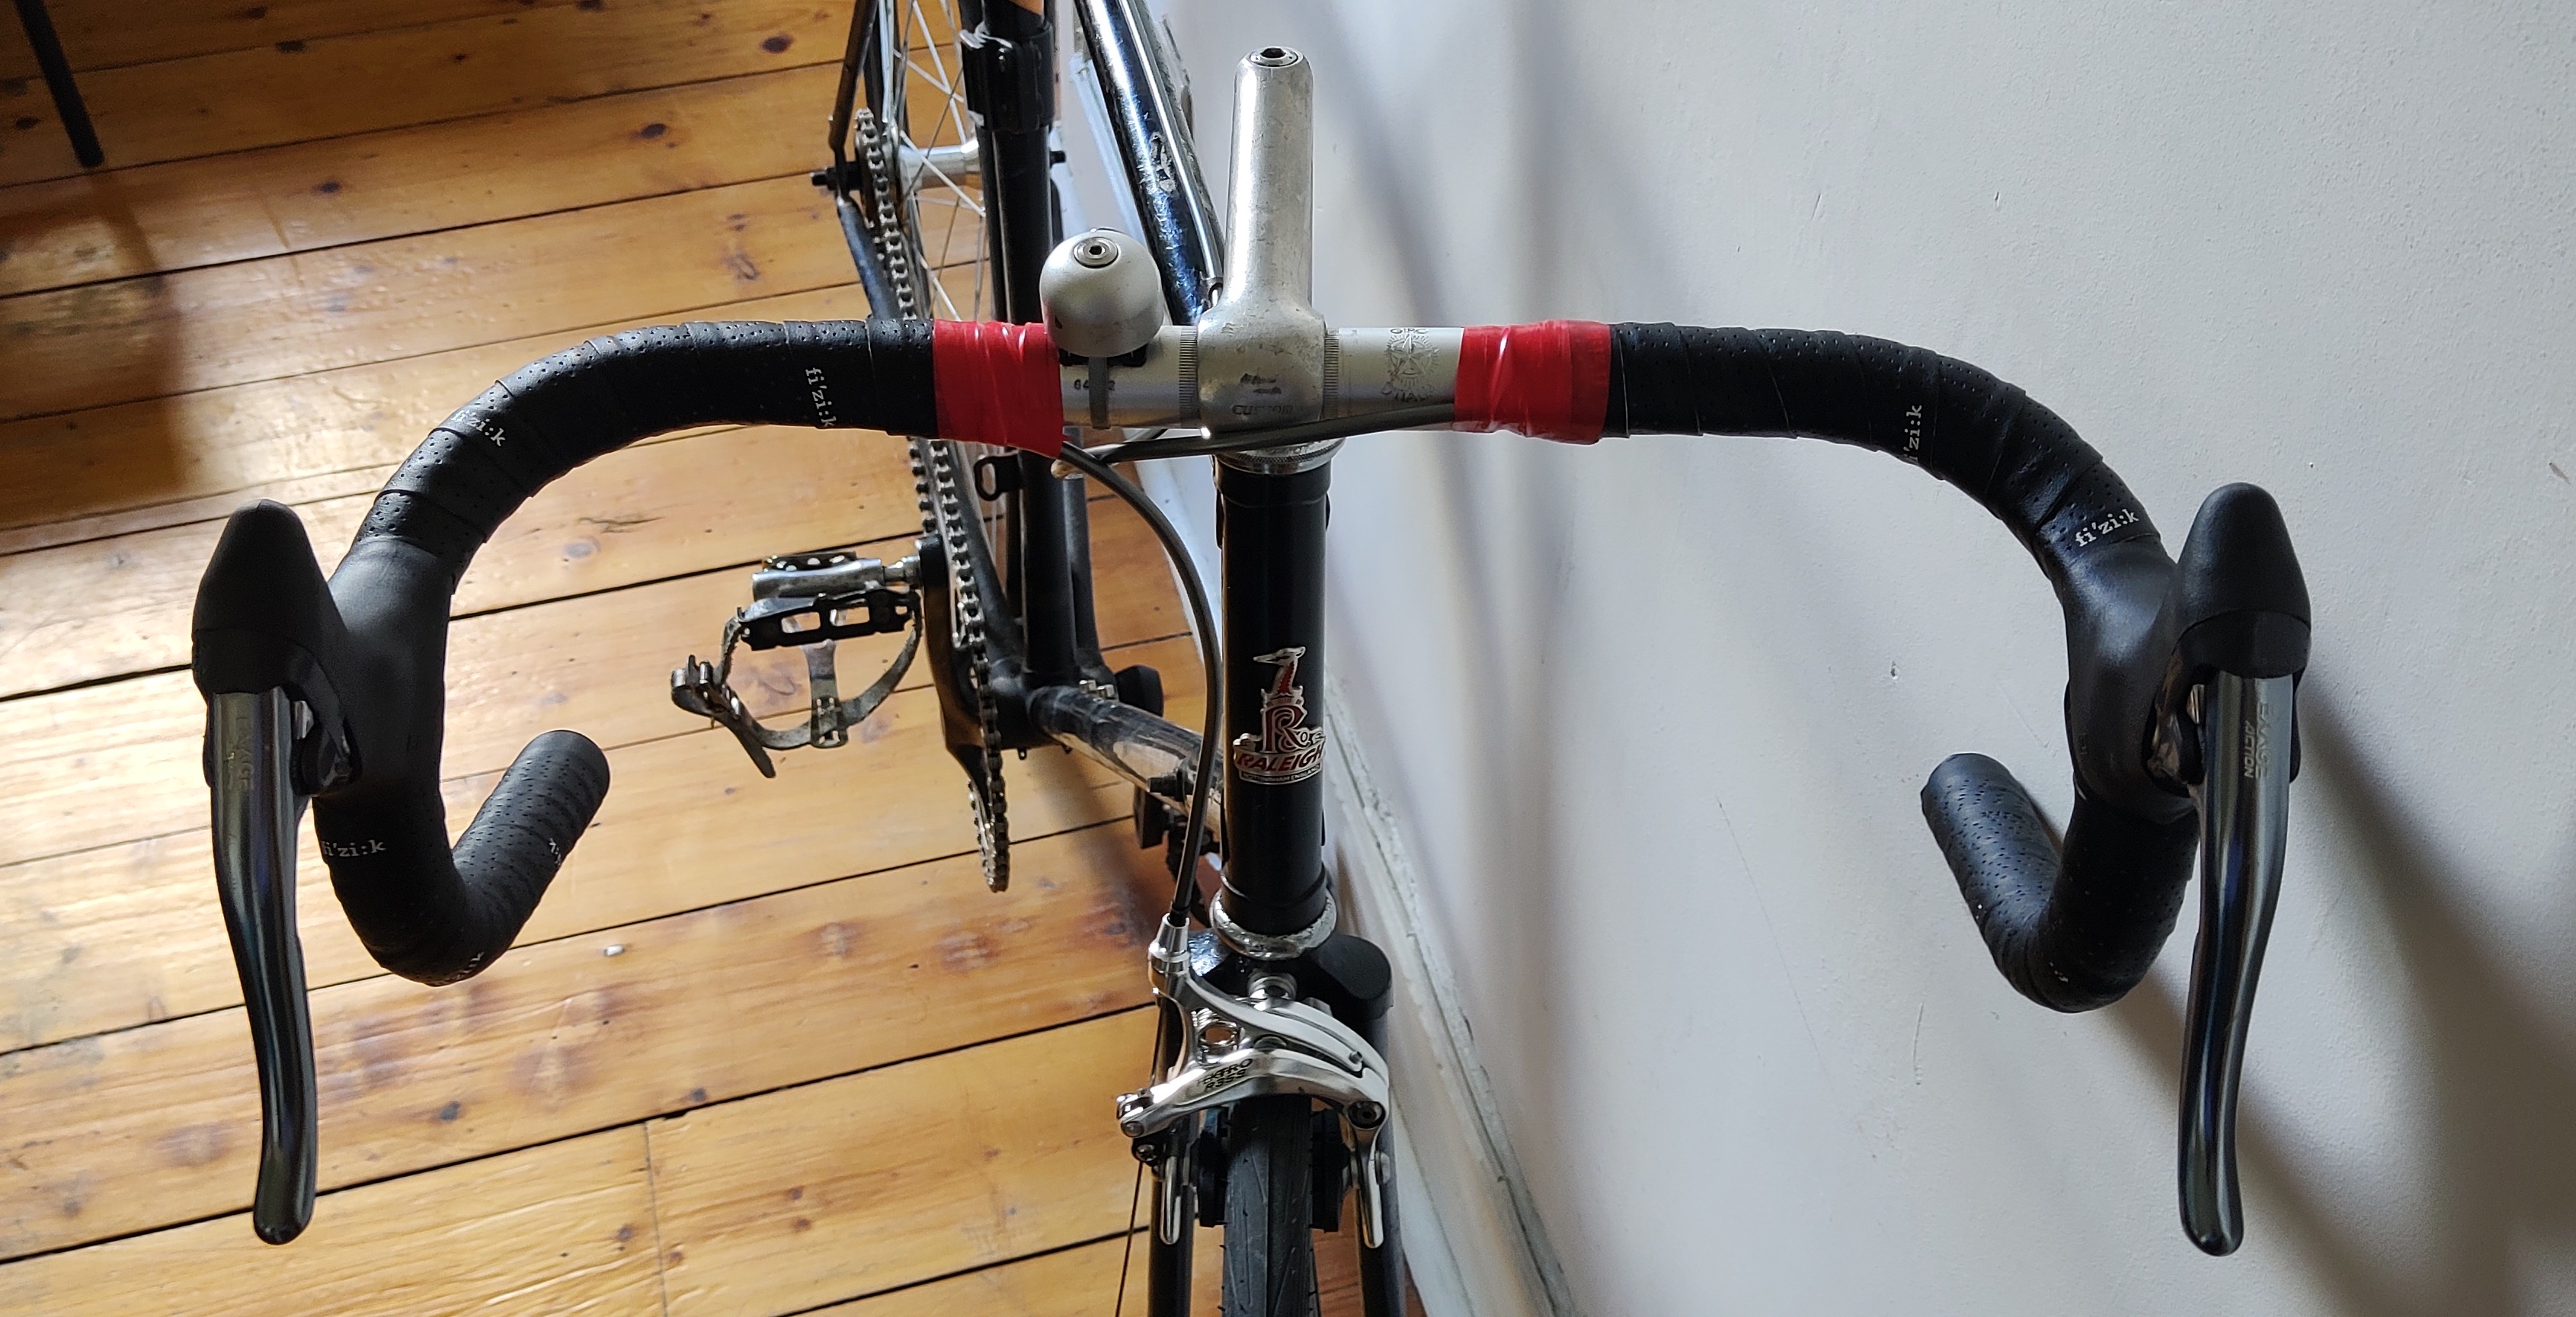 I was desperate to replace the brake calipers with something more modern. The originals were a set of Weinmann AG Type 500 Single-pivot calipers. Quite cheap and difficult to maintain due to the number of hex bolts which had become stripped over time. The front caliper was also bent slightly in the car crash mentioned earlier.  I replaced them with a set of Tektro RJT R359 Caliper Brake Set 47-57 mm Drop from SJS cycles. I opted for a nutted fitting rather than a recessed fitting. I would have preferred a recessed nut, as they are slightly cleaner looking, and it's one less hex nut to worry about, but that would have required drilling the frame to enlarge the hole for the brake caliper screw from 6 mm to 8 mm. I went to Eastside bikes to see if it was possible to do this, but they were concerned that drilling the frame might cause cracks to develop, as the frame is a bit corroded anyway. [Tektro RJT R359 Caliper Brake Set 47-57 mm Drop]: https://www.sjscycles.co.uk/brakes/tektro-r359-caliper-brake-set-475 7-mm-drop-nut-fitting-silver/  The rear caliper fit very well with my 32c tyre. It gave plenty of space between the seatstays and the brake pads, and the pads sit just about in the middle of the arms. On the front however, I ended up having to change to a 28c tyre to get some extra clearance between the top of the tyre and the bottom of the brake caliper bridge. I think because the forks are a bit old, the hole for the caliper screw has reamed out a little bit, causing the caliper to angle downwards to the front a little bit as it is tightened up. With a 28c tyre there is now plenty of space. I had to get the headset serviced, as it had developed a wobble. It turned out this was because the top race was missing three ball bearings, which explained why everytime I tightened it down, it worked itself loose again. I got this done at Eastside bikes. [Eastside bikes]: http://eastsidebikes.com/ The new seatpost is 28 mm diameter, while the old seatpost is 27 mm. Over time, the top tube in the frame had ovalised a little bit from being over-tightened, and had to be reamed out a little bit to get rid of some corroded gunk. The new saddle is a Burgtec The Cloud Mk2. It's a bit more low-profile than the original saddle, and I like it a lot. No issues so far. [Burgtec The Cloud Mk2]: https://burgtec.co.uk/product/the-cloud-mk2-seat/  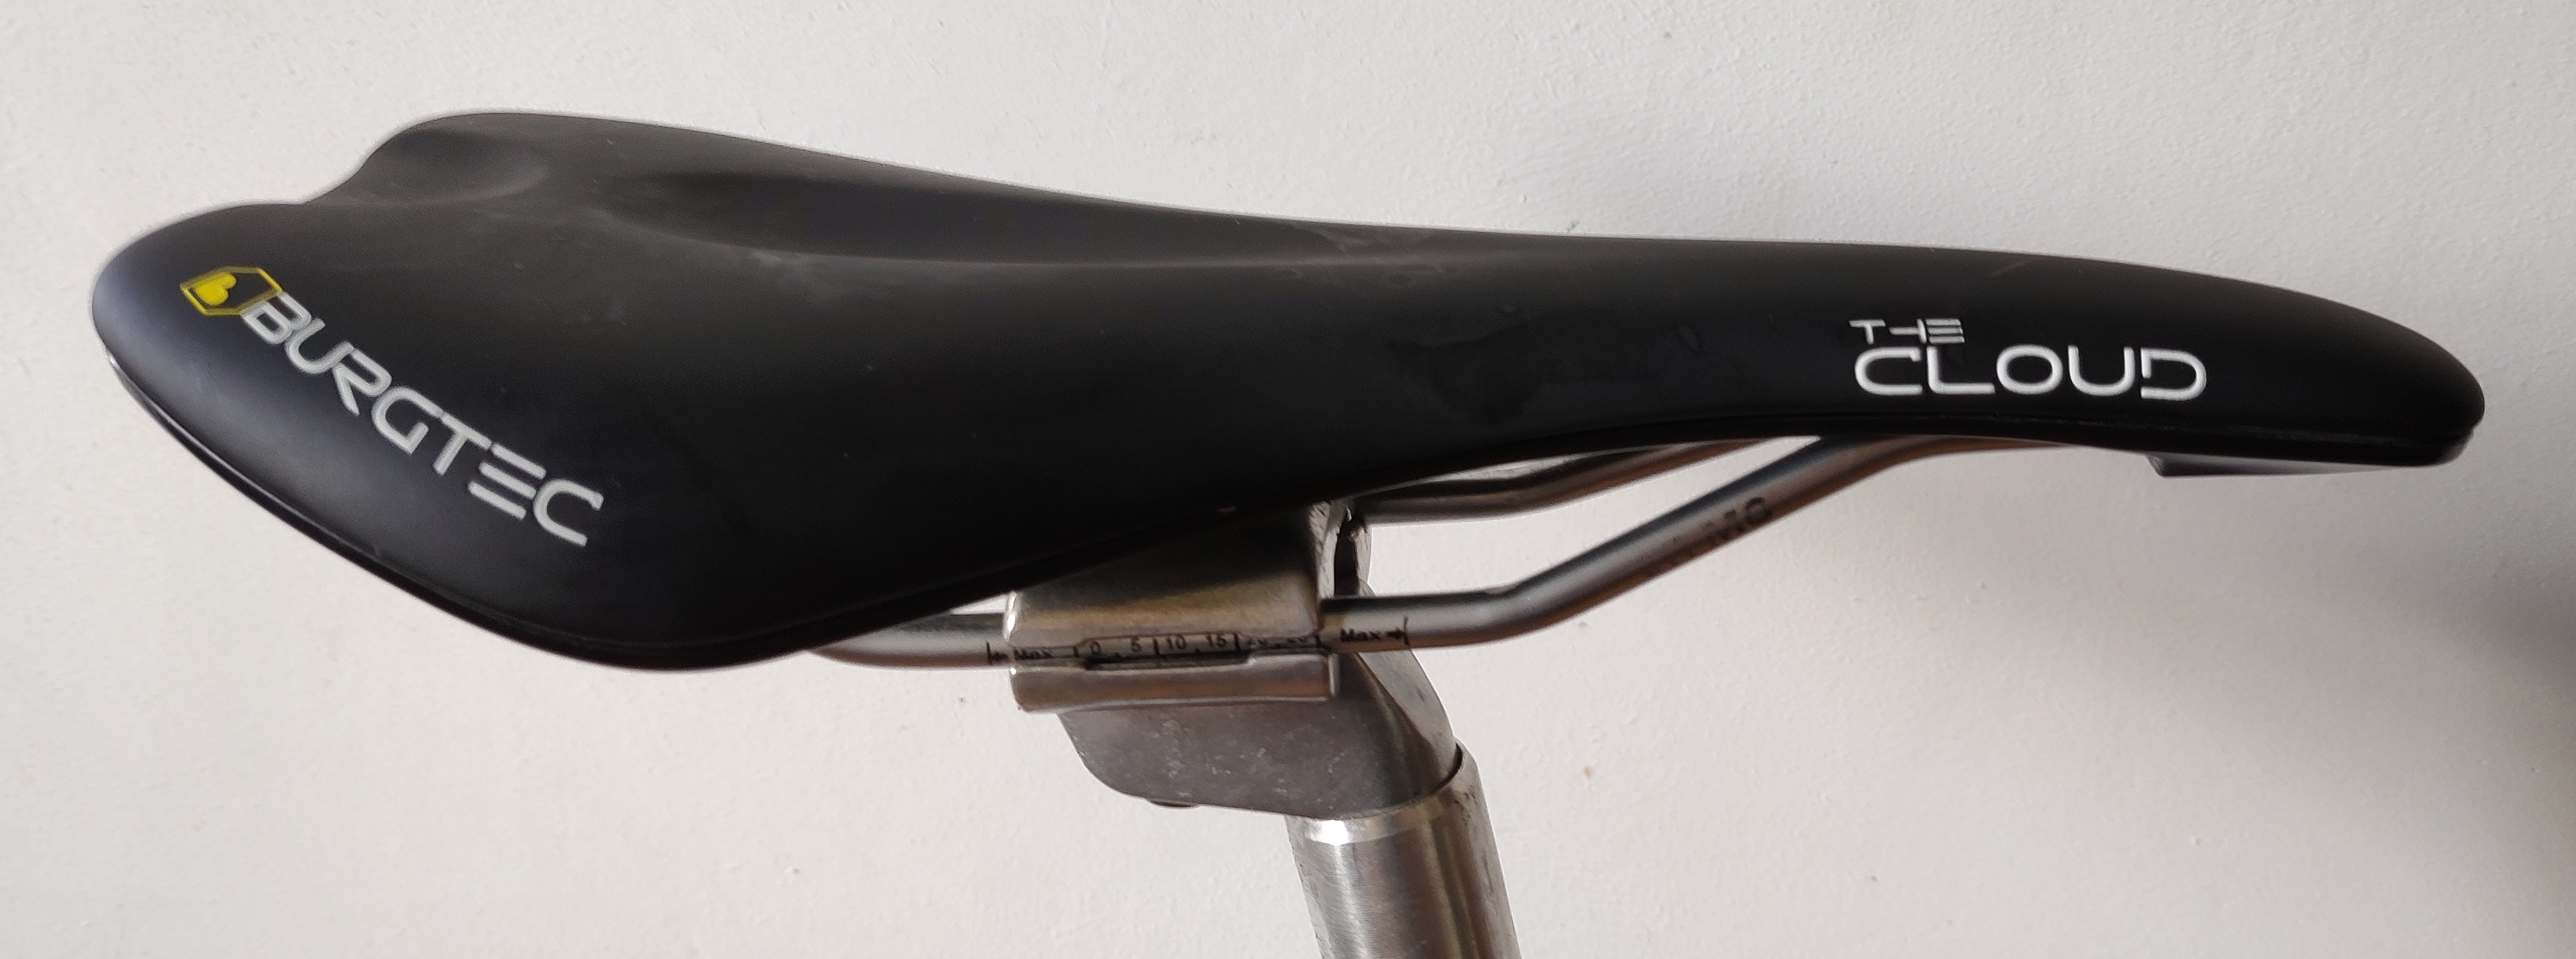 This is what the bike looks like now: 